
Let's see How to Install FREE EasyAppointements on CPanel in 5 minutes?
In this tutorial, we are Going to install the popular Easy!Appoinments on CPanel. You don't need to do any coding just install this and you are ready to go.
What is EasyAppointments?
EasyAppointments is open-source appointment scheduling system. This system is developed by using php Frameworks & database is in MySQL.
Installation Steps
Uploading Required Files
To upload files, first we need to download them from https://easyappointments.org/ .
To download visit above link and click on Source Code once source code is downloaded. Now visit your website's CPanel. You can access your cpanel from your hosting provider's site or you can directly access using cpanel.yoursite.com or yoursite.com/cpanel .
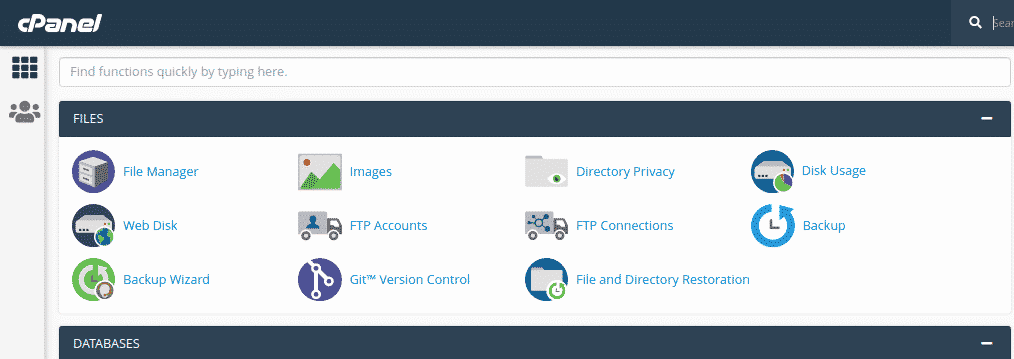
Once you accessed your CPanel we will be moving to upload our files on CPanel Account .
To upload click on File Manager and Go to Public_html folder and create desired folder.
Suppose you want to add your software at example.com/book then create a folder book inside your public_html folder.
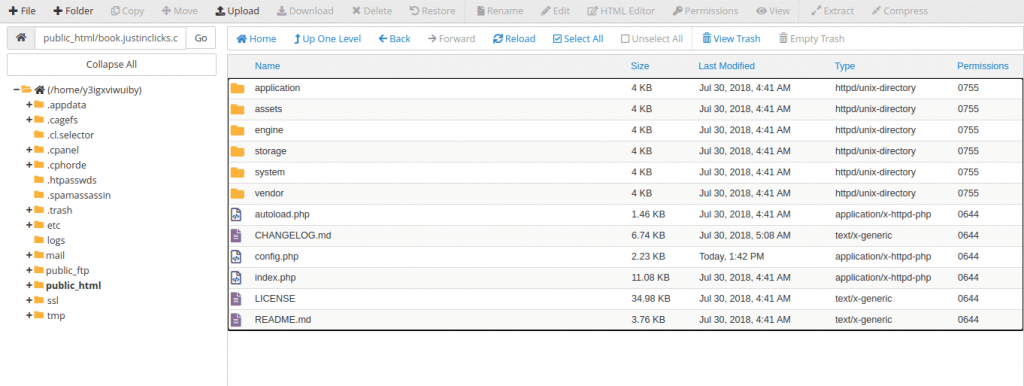
Now upload the .zip file we downloaded from easy appointments site. Now we have to extract that file. After extraction, you will get a folder with the same name as our zip file name. Firstly we can securely delete that zip file. Now move the content from our easyappontments . folder to our book folder.
that's it. we completed our first task to upload required files to the server.
One important task is to rename config-sample.php to config.php
Database Part
Create Database
To create database click on MySQL Databases. see image below. option 1 to be selected.
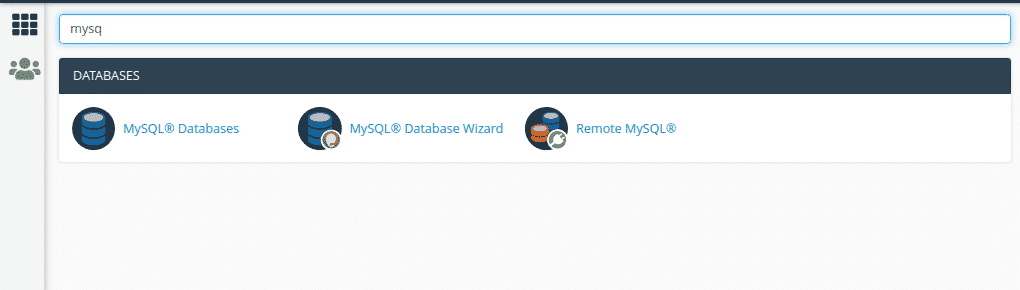
Once you click you will be redirected to page where it will ask you the name of database. You have to enter database name you want to use. Keep Good & understandable database name & click on Create Database.

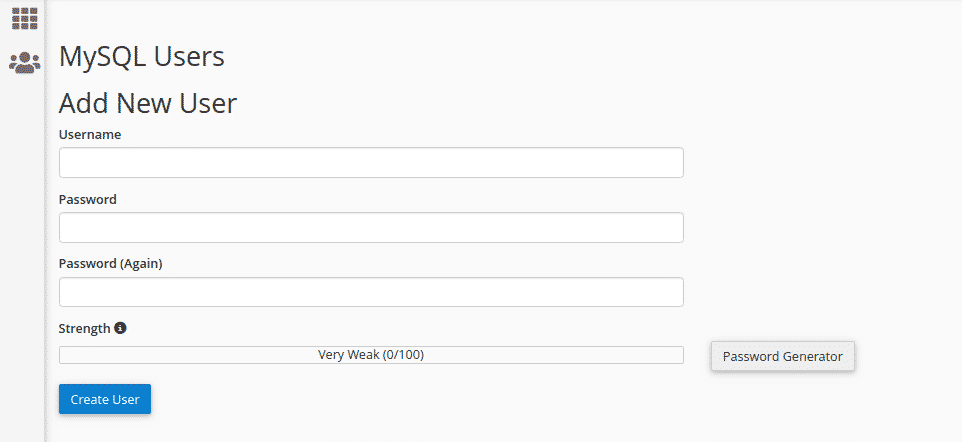
Creating A User
Once the database is created. we have to create a user to access the database we just created. To create users just scroll down. You will get the option to Add New User. Create a username & you can use a password generator to generate passwords. Keep all this data safe and secure. we need all this data while setting up your app.
Authorising the user to use database
The last step & important step is to authorize user to use our database. Just scroll more you will find Add User to Database option.
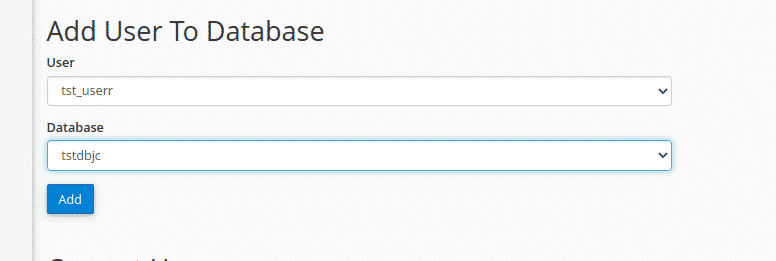
Now select the user and appropriate database and click on Add button. Now you will be redirected to another page. Where you are required to select the rights to users on the database. simply select ALL PRIVILEGES.
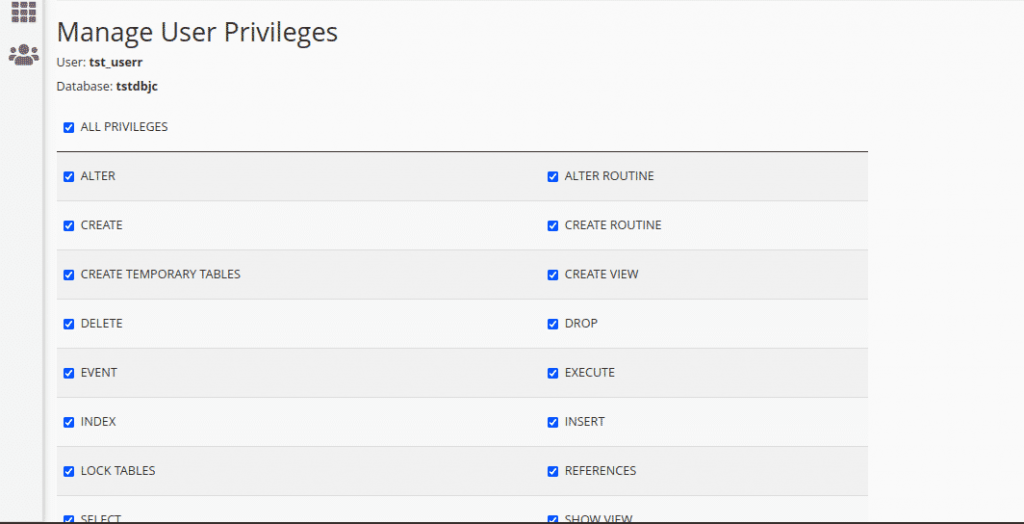
Now click on Make Changes . Done, we have done database part too.
Configuration Setup
To start final setup Go to File Manger and find the file we renamed to config.php and open that file. Now we will make some edits in this file. Which is necessary.
php
/* ----------------------------------------------------------------------------
* Easy!Appointments - Open Source Web Scheduler
*
* @package EasyAppointments
* @author A.Tselegidis <alextselegidis@gmail.com>
* @copyright Copyright (c) 2013 - 2018, Alex Tselegidis
* @license https://opensource.org/licenses/GPL-3.0 - GPLv3
* @link https://easyappointments.org
* @since v1.0.0
* ---------------------------------------------------------------------------- */
/**
* Easy!Appointments Configuration File
*
* Set your installation BASE_URL * without the trailing slash * and the database
* credentials in order to connect to the database. You can enable the DEBUG_MODE
* while developing the application.
*
* Set the default language by changing the LANGUAGE constant. For a full list of
* available languages look at the /application/config/config.php file.
*
* IMPORTANT:
* If you are updating from version 1.0 you will have to create a new "config.php"
* file because the old "configuration.php" is not used anymore.
*/
class Config {
// ------------------------------------------------------------------------
// GENERAL SETTINGS
// ------------------------------------------------------------------------
const BASE_URL = 'https://book.Kaustubh K..com/test-booking';
const LANGUAGE = 'english';
const DEBUG_MODE = FALSE;
// ------------------------------------------------------------------------
 // DATABASE SETTINGS
 // ------------------------------------------------------------------------
 const DB_HOST = 'localhost';
 const DB_NAME = 'tstdbjc';
 const DB_USERNAME = 'tst_userr';
 const DB_PASSWORD = 'VBQ[ETjX_J@.';
 // ------------------------------------------------------------------------
// GOOGLE CALENDAR SYNC
// ------------------------------------------------------------------------
const GOOGLE_SYNC_FEATURE = FALSE; // Enter TRUE or FALSE
const GOOGLE_PRODUCT_NAME = '';
const GOOGLE_CLIENT_ID = '';
const GOOGLE_CLIENT_SECRET = '';
const GOOGLE_API_KEY = '';
}
/* End of file config.php */
/* Location: ./config.php */
We have to change just few lines.
first const BASE_URL here we will add our application URL. like we made in file manager like /book.
Important:
1.Do not add / after url . example /book/ is incorrect . use /book
2.Check your site is if http or https use accordingly.
const BASE_URL = 'https://example.com/booking';
Database Settings :
// DATABASE SETTINGS
// ------------------------------------------------------------------------
const DB_HOST = 'localhost';
const DB_NAME = 'tstdbjc';
const DB_USERNAME = 'tst_userr';
const DB_PASSWORD = 'VBQ[ETjX_J@.';
// ------------------------------------------------------------------------
const DB_HOST will be localhost all time. Please fill all the fields according to database settings.
DB_NAME = database name
DB_USERNAME = username we created for user
DB_PASSWORD = password created for user.
Done now click on save button. You completed one more step.
Final Setup
Now visit our app link. The link we defined in config.php as const BASE_URL.
for example: <a href="https://example.com" target="_blank" aria-label="example.com/book (opens in a new tab)" rel="noreferrer noopener nofollow" class="rank-math-link"example.com/book
You will see below screen
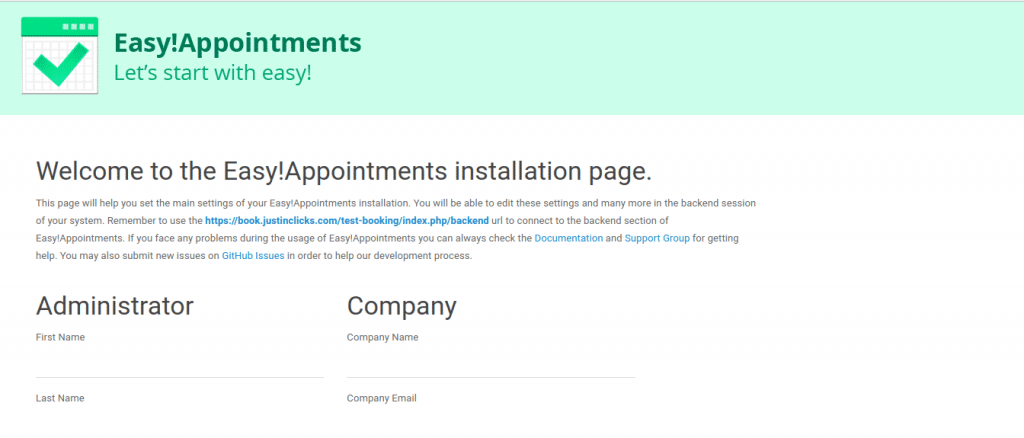
Enter all data correctly and click on Install EasyAppointments.
Done you have completed installation process. To access admin panel of application we just installed click on Login section button.

Enter credentials we just setup and Login. You can customise everything now. Update setup with your business data and logics . You have completed setup for FREE & Open-source booking System.
About Booking System Pro
Booking system Pro is provided by JustInClicks.com . It contains Multiple Pro Features that are NOT available in FREE system.
FREE vs Pro. Why Pro
| FREE | PRO |
| Email Notification | Email Notification |
| All Basic Features | All Basic Features |
| Responsive Design | Responsive Design |
| 23+ Language Support | 23+ Language Support |
| Multiple Attendants | Multiple Attendants |
| Business Logic Setup | Business Logic Setup |
| You have to pay for hosting and domain | JustInClicks.com Pay for both |
| Unlimited users | Unlimited users |
| Installation | Installation |
| QR Code integration | QR Code integration |
| QR Scanner App | QR Scanner App |
| Payment Gateway | Payment Gateway |
| Theme Customization | Theme Customization |
| Technical Support | Technical Support |
| Web Hosting | Web Hosting |